I have a bunch of liquor bottles, like any cocktail enthusiast. But what I don’t have a pantry cupboard or basement bar to keep the booze tucked away, out of sight.
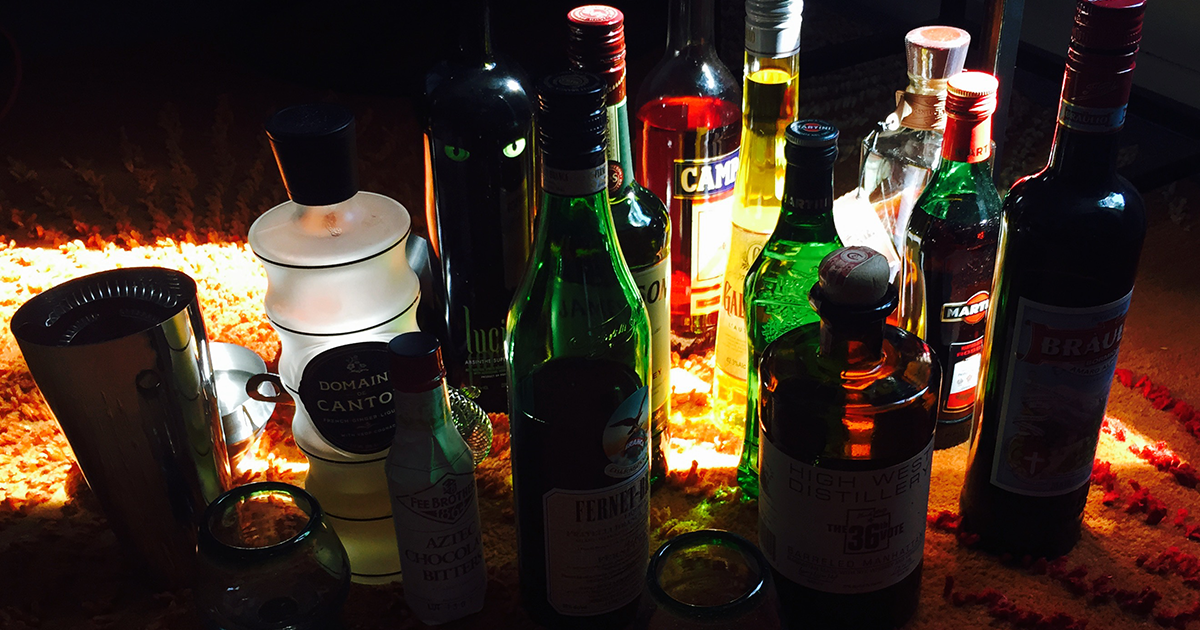
It’s totally normal to store liquor on your living room floor, right?
So I needed a storage solution for them. I was inspired by this DIY Bar Cart project. I liked the simplicity of it and its industrial-chic. Armed with my 20% off Harbor Freight coupon, I stopped in the store with the intention of walking out with an inexpensive tool cart for the base of my new bar cart. However, it was very apparent that these carts were all way too big for my little space.
I wasn’t about to give up. Over the next several days I shopped around, stopped at some second hand stores, stopped at a few rummage sales. Nothing really caught my eye. Finally, as I perused the back-to-school (aka unrealistically decorate your dorm room) stuff, this little grey utility cart caught my eye and it was on sale. It’s very similar to a cart that IKEA sells, but I like the look of this one better. The grey color means I won’t have to spray paint it and the 12″ x 17″ footprint was perfect for my space. Big enough to store a nice collection of bottles and accessories.
The problem with this little guy is that the trays are mesh on the bottom, so they won’t hold a lot of weight and they won’t stay level, which is not good for a bunch of glass bottles filled with liquid fun. So it needed some kind of reinforcement. But would 1/4″ plywood be sturdy enough?
As I pondered this question in the lumber section at Home Depot, an employee approached and asked me what kind of project I was working on. I told him, “I need some wood sturdy enough to hold some bottles of booze on this mesh shelf.”
He was more than happy to help, in fact, he downright championed my project, going so far as to talking to tool rental about using their jigsaw, so I could leave the store with ready to stain shelves. “It’s for booze? I love booze! I’m Irish!”
Oh, Wisconsin. Don’t ever change.
The jigsaw fell through but they did cut the three shelves for me out of the larger sheet of 1/2″ plywood. I had planned to finish the job at my dad’s anyways so it wasn’t a big deal. I appreciated the effort, though!

Cut Plywood and Tomato Plant should be an air freshener scent.
So it was now off to my dad’s to finish the corners on the shelves.

Cutting Corners – yeah, yeah, terrible play on words. I won’t quit my day job.
Of course it wasn’t as easy as just cutting the four corners, there was a gentle curve along both long edges. So my dad and I decided that grinding the edges down would be the best option for a snug fit.
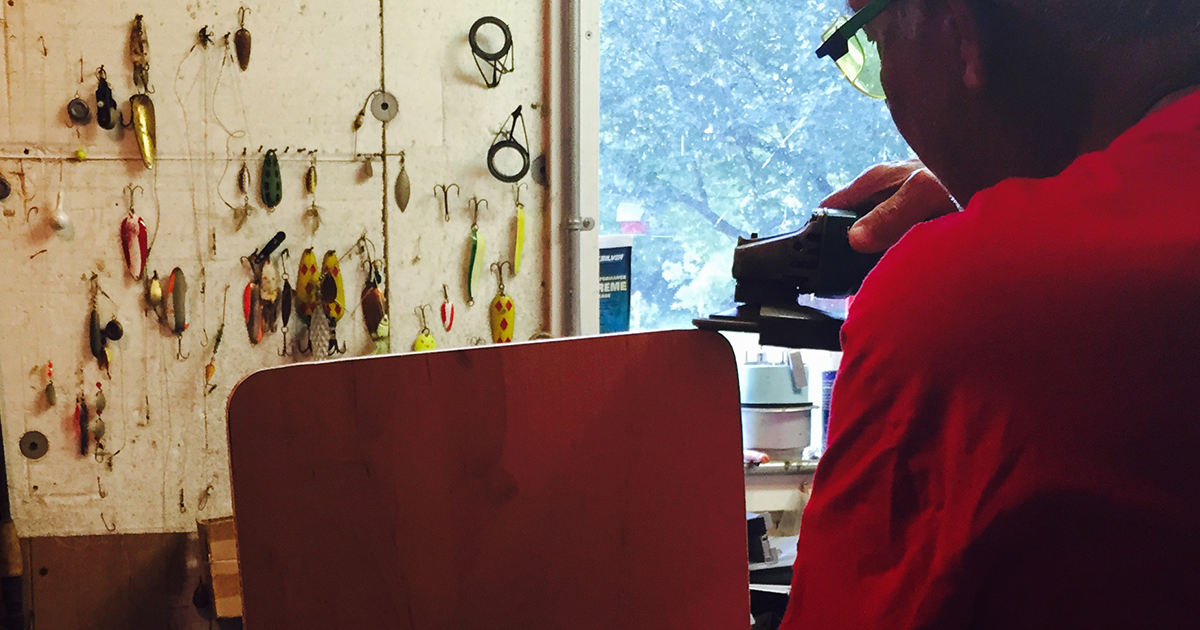
Grinding down the edges.
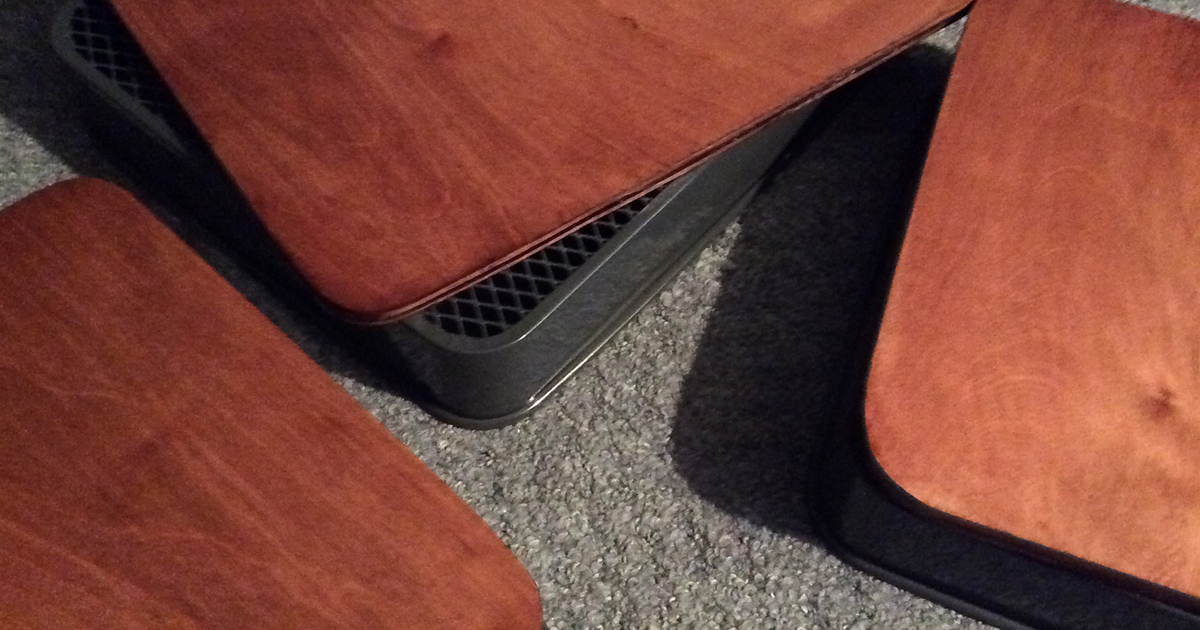
Altogether, the cutting and grinding to fit all three shelves took about 30 minutes. It’s pretty easy when you have access to the right tools.

It fits!
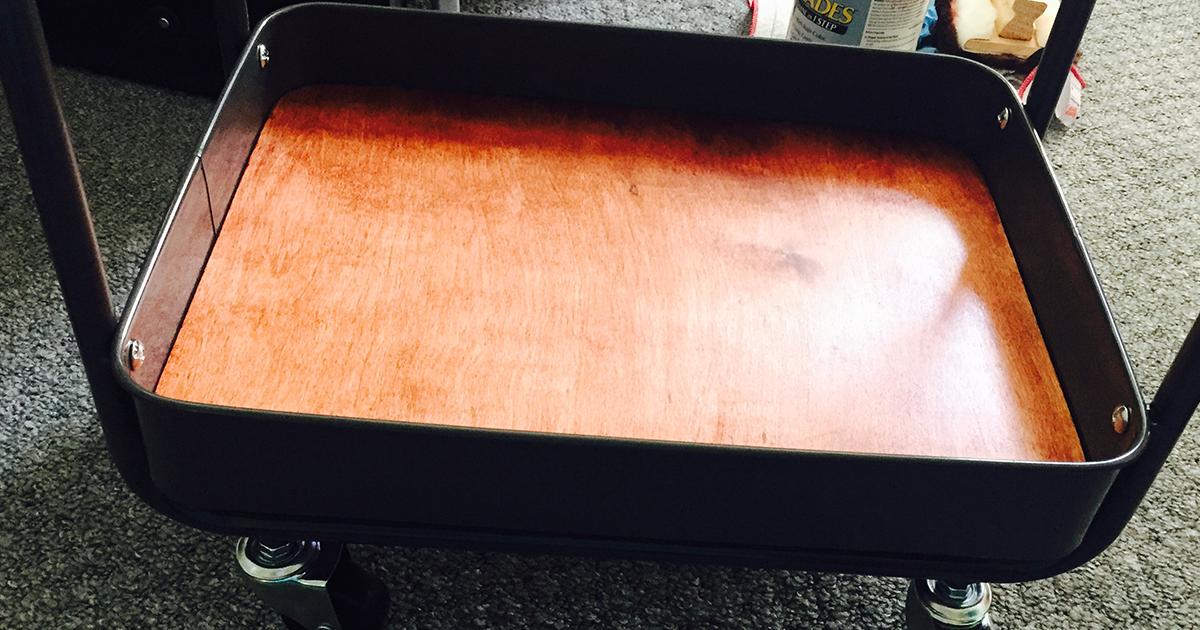
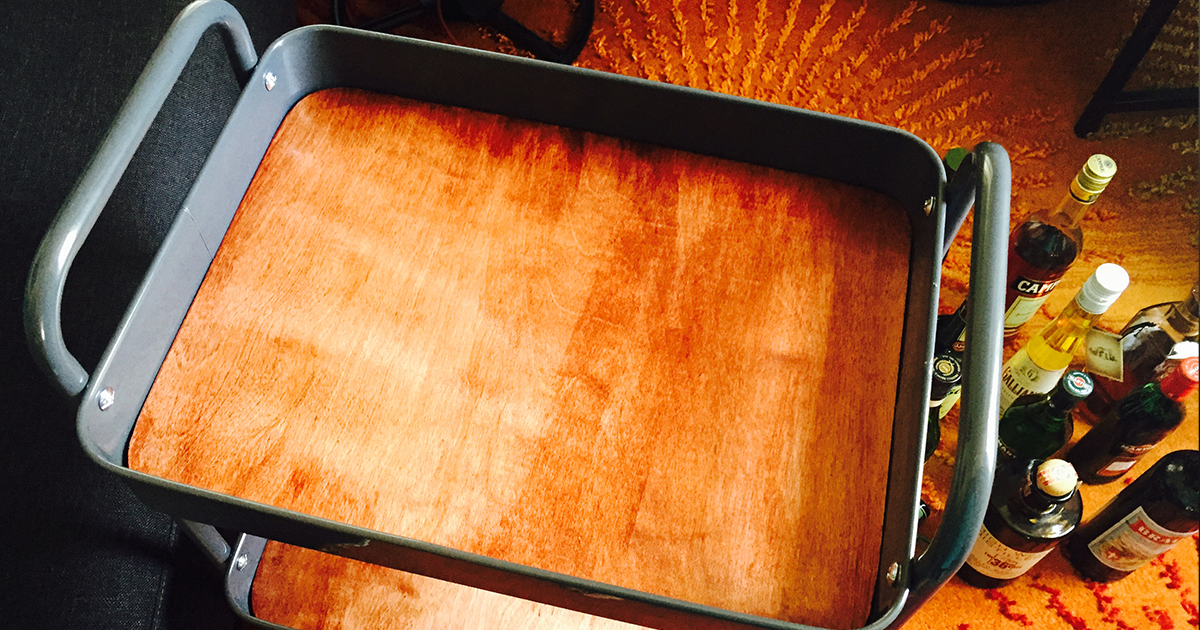
Now it was time to stain the shelves. I sanded them lightly then applied a pre-stain treatment. After that was dry I applied the first coat of the stain. I decided to use a 1-step Stain and Polyurethane combo in “bombay mahogany” gloss. I won’t be mixing drinks directly on top of this cart or keeping an ice bucket on it, so I felt it didn’t warrant a separate application of polyurethane on top.
Staining the shelves “Bombay Mahogany”
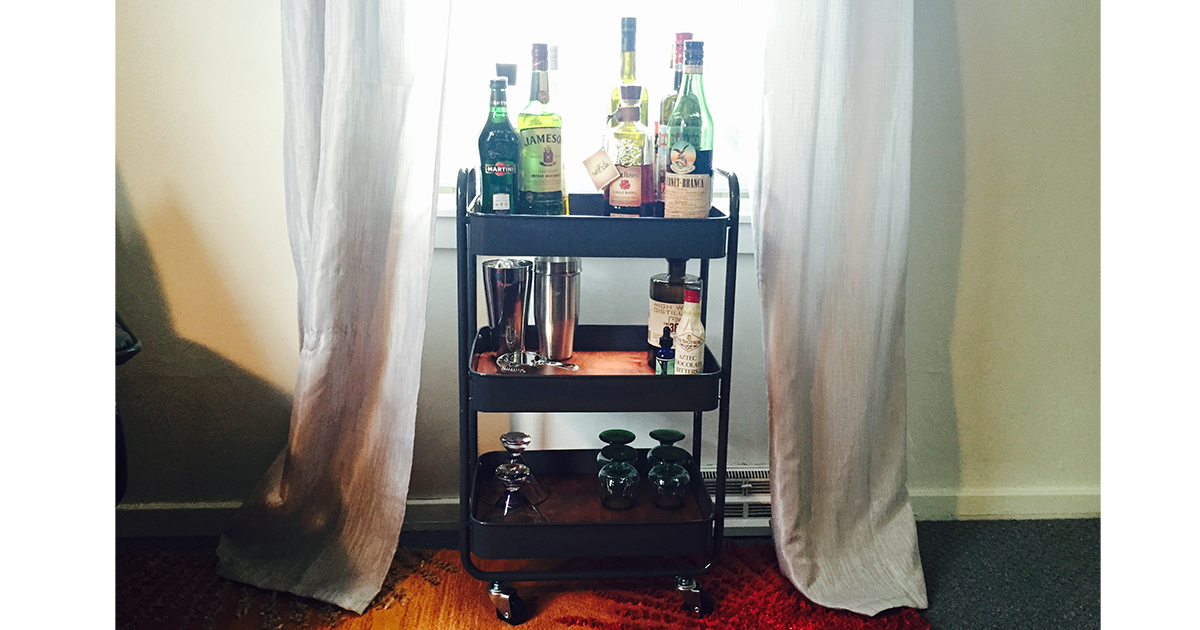
Over a couple of days, I applied three coats in total and once they were dry enough, I reassembled the cart. With the cost of the cart ($34), the wood ($18), a pizza for my dad ($18), and the stain ($6), this project set me back about $76. So a little more expensive than the original project, but still way less than if I were to buy one – and the size is perfect for my space. Also, since I have a long 4′ piece of plywood left, I may stain it and turn it into a little console table for behind my couch. That’s really two pieces for the price of one!
I love this shade with the grey metal.
The Bar Cart, assembled.
So now I have a lovely place for booze right in my living room and I can roll the cart into the kitchen to craft come cocktails. Who is coming over for drinks?
Na Zdorovie!
