Demolition day has finally arrived and I’m gettin’ my DIY-on.
Thanks to the help of my dad and my nephew, Jared, I was able to complete the initial part of the demolition. Yay! In a way, I’m glad it worked out this way because not only did I save some money, but I also got to bond with my little house. Taking things apart is a great way to learn how something was put together.
But you’re probably here to look at some before and after photos, so allow me to deliver on that.
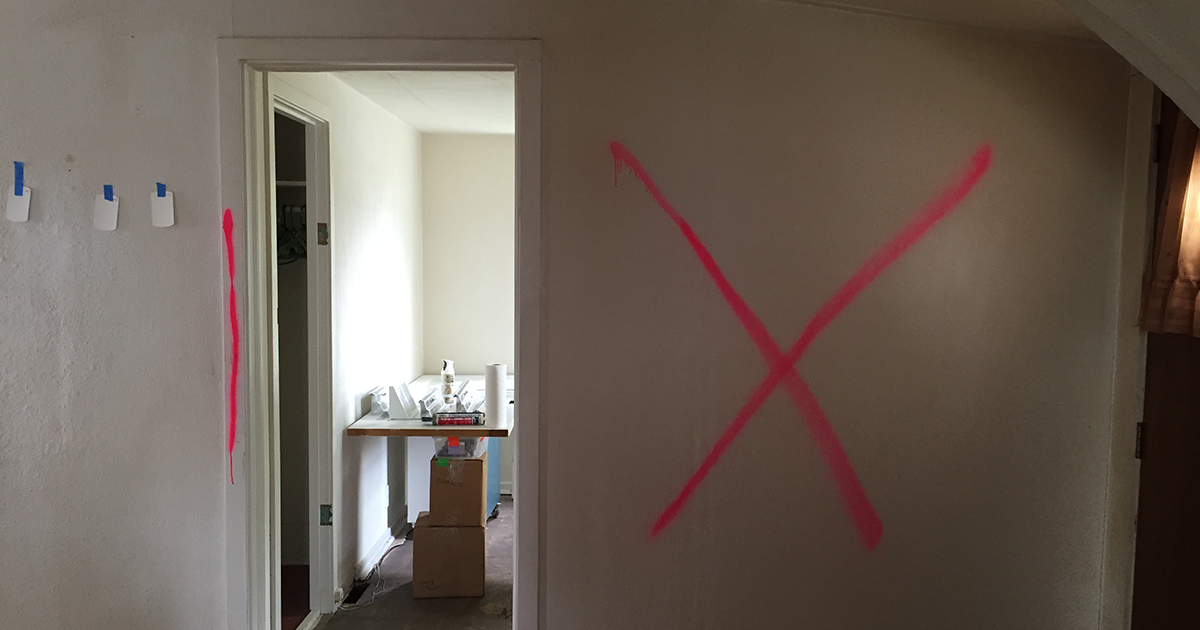
Living Room view looking North before demolition
View from kitchen looking east into the living room before demolition

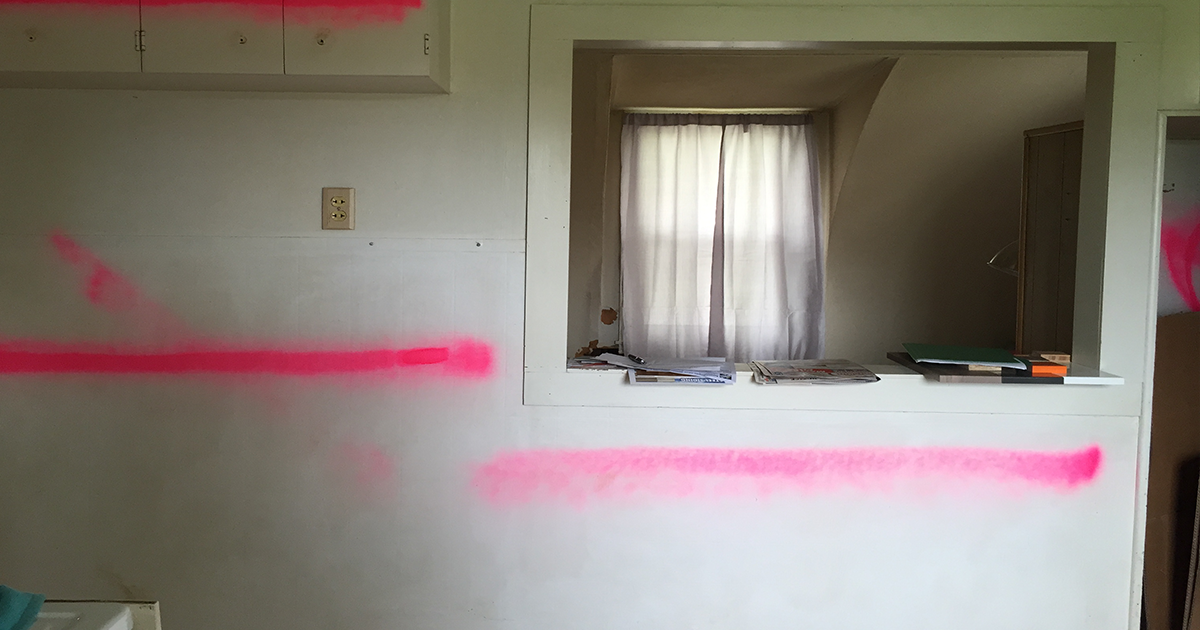
View from the living room looking west into the kitchen, mid-demolition.
Note the crazy tangle of wires in the wall. We were able to clean them all up, leaving only two sets of wires to create new outlets with. After we took all the drywall down and cleaned up the wiring, we cut a hole into the ceiling to see if this wall was load bearing or not.
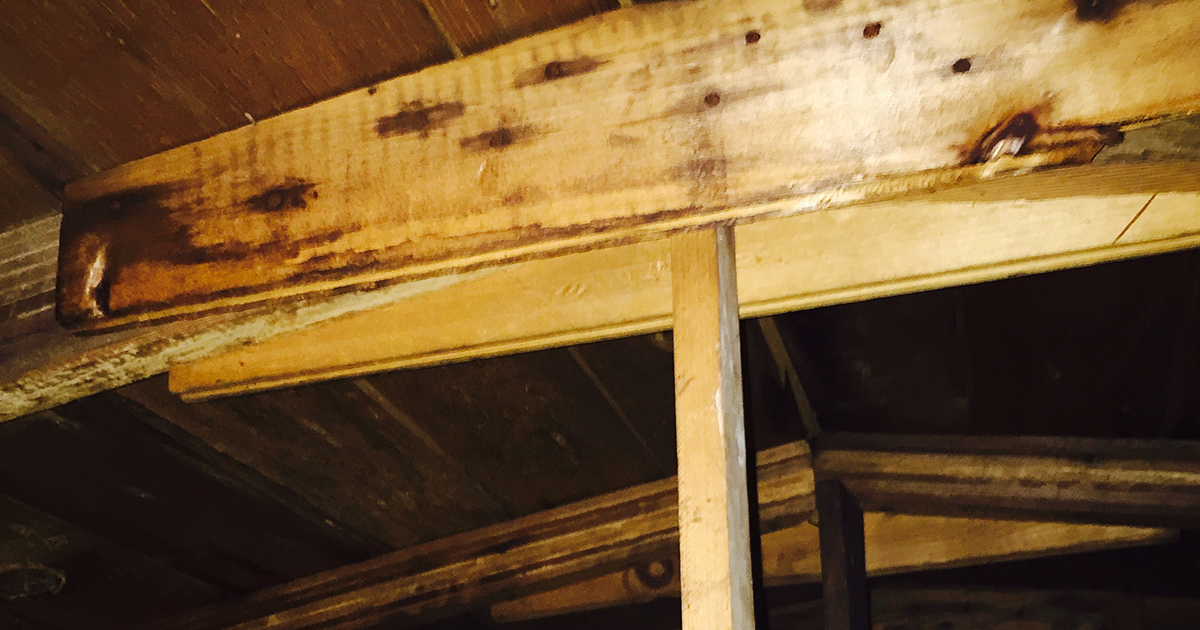
It’s wood, not metal.
I had expected to see some metal up here and not all the wood. There are what looks to be purlins from the top of the wall to the little joists but they didn’t seem to be supporting the structure. Both my dad and I figured that the wall was at the very least holding up the ceiling. The span across the top had no other support. So I made the decision to leave some of the 2x4s in place for now. In the future I could always put a header in, and I want to raise the ceiling up a couple of inches anyways. And just having the wall open makes a HUGE difference for the little space.
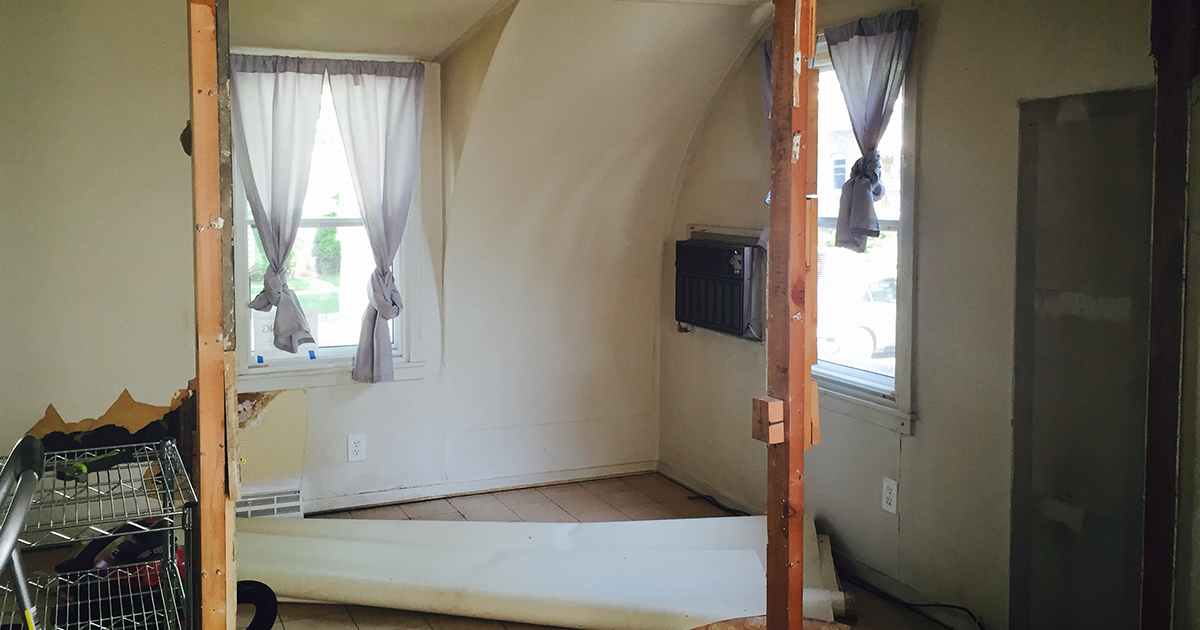
After demolition, looking east from kitchen into the living room.

After demolition, living room looking North.
What do you think? It’s starting to look pretty awesome, right?
